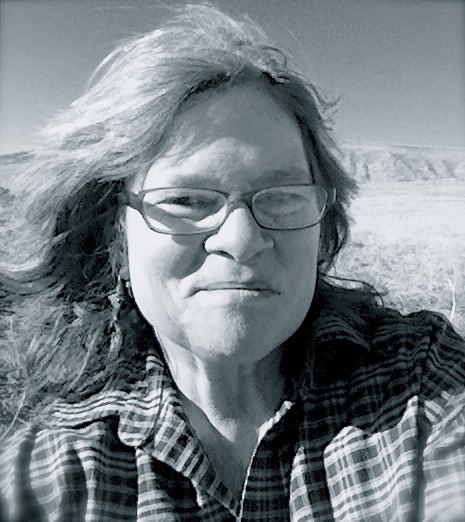
 Jenna Caplette migrated from California to Montana in the early 1970s, first living on the Crow Indian reservation. A Healing Arts Practitioner, she owns Bozeman BodyTalk & Integrative Healthcare. She says, " Health is resiliency, a zest for the journey. It’s about coming awake to the joy of being alive. As a practitioner, its a privilege to facilitate that healing process, to help weave new patterns of health & well-being. “
Photography is ultimately the practice of seeing. It takes time and patience, along with a sense of adventure, to learn to see in new ways.
Macro, or close-up, photography transforms the mundane and familiar into fantastic patterns and swirls of complementary and contrasting color, or precise representations of tiny things like the ice crystals on the living room window.
Your working distance can be one and a half feet from what you’re shooting, or as close as one centimeter. It makes sense that the closer you focus on your subject, the larger it will appear. True macro lenses have a magnification of at least one-half life size. That means an object will reproduce at one-half its size when recorded by your camera. Most photographers own a 70-200mm or 75-300mm zoom lens which often have close focus, but a true macro lens in the 60mm to 105mm range is preferable. Got some holiday money left? All of the major camera and lens manufacturers make macro lenses.
With a point and shoot camera, set it on macro mode (usually represented by a flower on the mode or navigation buttons). This mode will let you get just inches away from your subject.
You can take macros with your iPhone too. Just tap on the part of the image where you want the camera to focus. A square will pop up. Move in as close as you can until your focal point blurs.
Lighting is key in any type of photography. When you practice indoor macro photography, you have an opportunity to explore light in a stable yet shifting environment. For instance, find a favorite window, where you know the light is beautiful. You can be in complete control of where that light hits the object you want to photograph. Wait until a different time of day, or for another day altogether, or move the object you are photographing to another room, by a different window, and everything changes.
To actively “modify” the light in a particular location, try using silver or gold reflectors. Metal hoops covered with nylon, reflectors catch and re-direct natural light to fill shadows. For a camera that works with interchangeable lenses, warming, soft-focus, and center-spot filters can also be useful.
A must in macro photography is to use a tripod. It will stabilize your camera and keep your image in sharp focus. Look for a tripod with a reversible center column, so you can mount the camera below the tripod legs where you can get it close to your intended subject. There are even tripods for point and shoot cameras and smart phones.
Before you click the shutter, be sure there are no objects in the back or foreground of the picture that will compete for attention with your subject. Things that look out of focus, or mostly-invisible in your view-finder may be quite apparent in the actual photograph. And be aware of where you own shadow falls.
Here’s some ideas for indoor macro subjects: food, clothing, the cat’s paw, the ingredients for your dinner, the flowers on your kitchen tables. Try using a printed image behind your subject to see how they interact. Once you get started, you’ll find endless opportunities for exploration— indoor and outdoors. You’ll be amazed by what you discover that you never really noticed before and the beauty of what you capture.
